Raised garden beds are one of the easiest ways to start a garden.
They give you control over your soil, improve drainage, and make gardening more manageable, especially for beginners.
The best part? You can build a simple raised bed in just a few steps using basic materials.
🌿 Why Choose a Raised Bed?
Raised beds are a great option for both beginner and experienced gardeners.
They help:
✔ improve soil quality
✔ reduce weeds
✔ improve drainage
✔ make planting and harvesting easier
They’re also highly customizable to fit your space.

André Lergier
🌱 What You’ll Need
To build a basic raised bed, you’ll need:
• wood boards (commonly 2×6 or 2×8) not pressure treated lumber!
• screws
• drill
• measuring tape
• saw (if cutting wood yourself)
Optional:
• corner brackets
• landscape fabric
If building a raised bed isnt your thing, browse my favorite kits here:
🌿 Choosing the Right Size
A common and beginner-friendly size is:
👉 4 feet wide × 8 feet long
This size allows you to reach the center of the bed from either side without stepping into the soil.
Recommended depth:
👉 12-18 inches deep
This provides enough space for most vegetables to grow, and enough room for soil and organic matter to be built up.
🌱 Step-by-Step: How to Build a Raised Bed
🌿 Step 1: Choose Your Location
Pick a spot that receives:
🌞 at least 6–8 hours of sunlight per day
Make sure the ground is relatively level.
🌱 Step 2: Measure and Cut Your Boards
Cut your wood to size (if needed):
• two boards for the length
• two boards for the width
🌿 Step 3: Assemble the Frame
Use screws to attach the boards together at the corners.
You can:
• screw directly into the boards
• or use corner brackets for extra support
🌱 Step 4: Place the Bed and Level It
Set your frame in place and make sure it’s level. Building on a level surface is much easier and bed won’t come out crooked.
You can remove grass underneath if needed or lay cardboard to suppress weeds.
🌿 Step 5: Add Optional Base Layer
If you want to reduce weeds:
• lay cardboard or landscape fabric at the bottom
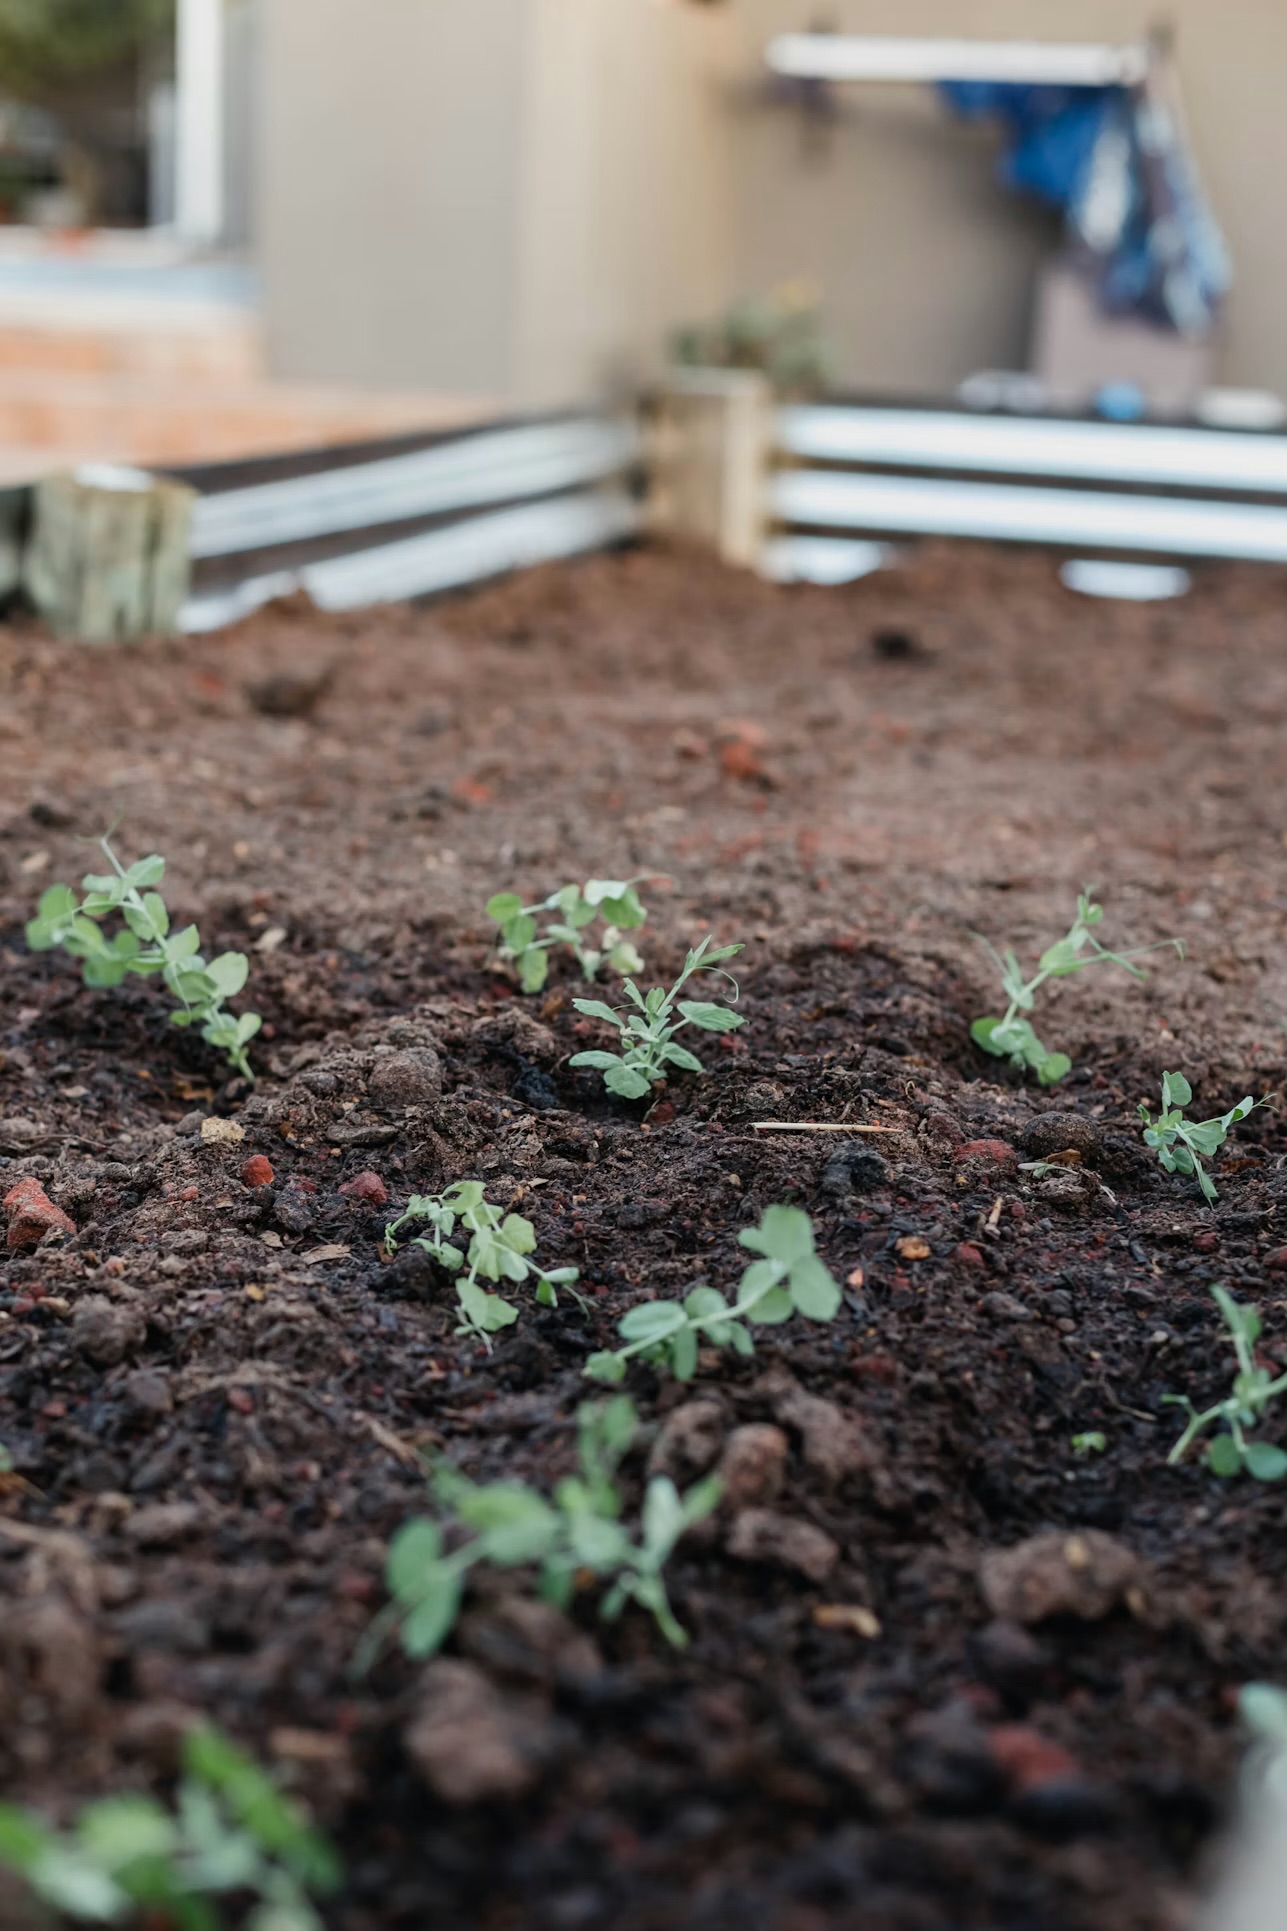
🌱 Step 6: Fill Your Raised Bed
Now that your frame is ready, it’s time to fill it.
👉 Follow this guide for the best results:
How to Fill a Raised Garden Bed
🌿 Simple Raised Bed Plans (Beginner Friendly)
*For a cut list screenshot or save the photo below instructions*
If you prefer to follow a plan, a basic 4×8 raised bed uses:
• 4 boards (8 ft long)
• 4 boards (4 ft long)
• 4 corner braces (or cut 2x4s to secure corners from inside the bed, you will need (4) 12in 2×4 segments)
Check out my recommended corner braces
As an Amazon Associate, I earn from qualifying purchases.
The instructions below will create a 4×8 raised bed that is 15in tall. (Dimensional lumber is typically 1/2in shorter than advertised, so a board that’s advertised as 2×8 will really 2×7.5)
Instructions
Start by cutting (2) 2Wx8Hx8L in half at 4ft. These will be the short sides of the bed.
If choosing not to use corner braces, and using 2×4 lumber instead, cut (4) segments at 12in. This will be tall enough to secure the frames together but not tall enough that they are visible.
Lay (2) 2Wx8Hx8L on ground, and set (2) 2x8Hx4L (that you cut) on the interiors of either ends of your 8ft boards.
Secure the ends of the 8ft long boards to ends of 4ft long boards, making 4 corners.
Repeat and then stack the rectangular beds on top of each other.
Using the braces connect the raised beds to each other so they become one unit. This way you won’t be bumping them out of alignment when weeding and planting.
If using 2×4 segments to connect bed frames together, place (1) segment in each corner and screw them to both sections of the bed.
You now have one raised bed! Ready to fill and plant!
You can also adjust the size based on your space, in the cut list below I’ve shared a materials list for a 4×8 bed and a 3×6 bed as they are the most common sizes.

Tips for Success
🌱 Use untreated wood, pressure treated lumber can leach chemicals into your soil.
🌱 Avoid making beds too wide, more than 4 feet wide makes it hard to reach plants in the middle.
🌱 Place beds where they’ll get enough sunlight
🌱 Build multiple beds over time as needed
🌿 What to Do Next
Once your raised bed is built, you’re ready to fill and plant it.
•How to Fill a Raised Garden Bed
•Best Soil Mix for Raised Garden Beds
👉 Use the Rooted Grower Planting Calendar to know what to plant next
🌱 Helpful Gardening Guides
• What to Plant After Last Frost
• What Vegetables to Direct Sow
• How to Prep Your Garden for Spring Planting
About The Author
Hi, I’m Natasha, the person behind The Rooted Grower.
I’m a gardener in progress, a plant parent, and a builder of tools to make gardening easier for beginners, like myself.
I created The Rooted Grower because I wanted a space where learning to garden feels supportive instead of intimidating. I’m learning alongside you, sharing what works, what doesn’t, and what I wish I had known sooner. My goal is to turn confusing moments into “oh, that makes sense” moments and to help you feel confident enough to keep going.
Last updated: [March 28th, 2026]
Leave a Reply