Starting seeds indoors can feel intimidating at first, but once you’ve done it once, it’s surprisingly simple (and kind of addictive 😅). 🌱
This step-by-step guide walks you through exactly how to start seeds indoors so you can grow strong, healthy seedlings ready for your garden.
🪴 Step 1: Gather Your Supplies You’ll need:

Photo: Trent Haddock
- Seeds
- Seed trays or small containers with drainage
- Seed starting mix
- Water (spray bottle or gentle watering can)
- Light source (sunny window or grow light)
Need a full supply list?
Read Everything You Need to Start Seeds Indoors (Beginner Checklist)
Or check out our Shop page to grab a few things you might have forgotten!
🗓 Step 2: Time It Right

Photo: Natasha
Check your seed packets for how many weeks before your last frost date to start seeds indoors.
Not sure when your last frost date is?
👉 Find Your Gardening Zone (USDA Zones Explained)
Or use The Rooted Grower App to get a personalized planting schedule based on your location.
🌿 Step 3: Fill Containers With Seed Starting Mix

Photo: Alicia Christin Gerald
- Lightly moisten the soil before planting
- Fill containers to the top
- Gently tap to settle soil (don’t pack it down)
Seed starting mix should be light and fluffy so roots can grow easily.
🌱 Step 4: Plant Your Seeds
- Follow depth instructions on seed packets
- Most seeds are planted about 2–3x as deep as their size, when planting things like melons it’s best to use larger seed starting containers to accommodate the larger seeds and seed depth
- Gently cover seeds with soil
- Lightly mist the surface
💧 Step 5: Water Gently
Seedlings like moist soil—not soaking wet. Pre mixing the soil with water before adding to seed trays is a great option when first seed starting.
Best methods:
- Spray bottle
- Bottom watering (place trays in shallow water and let soil absorb moisture)
Avoid pouring water directly onto tiny seeds as they’ll float away, when this happens the seed usually end up in the corners of the trays cells.
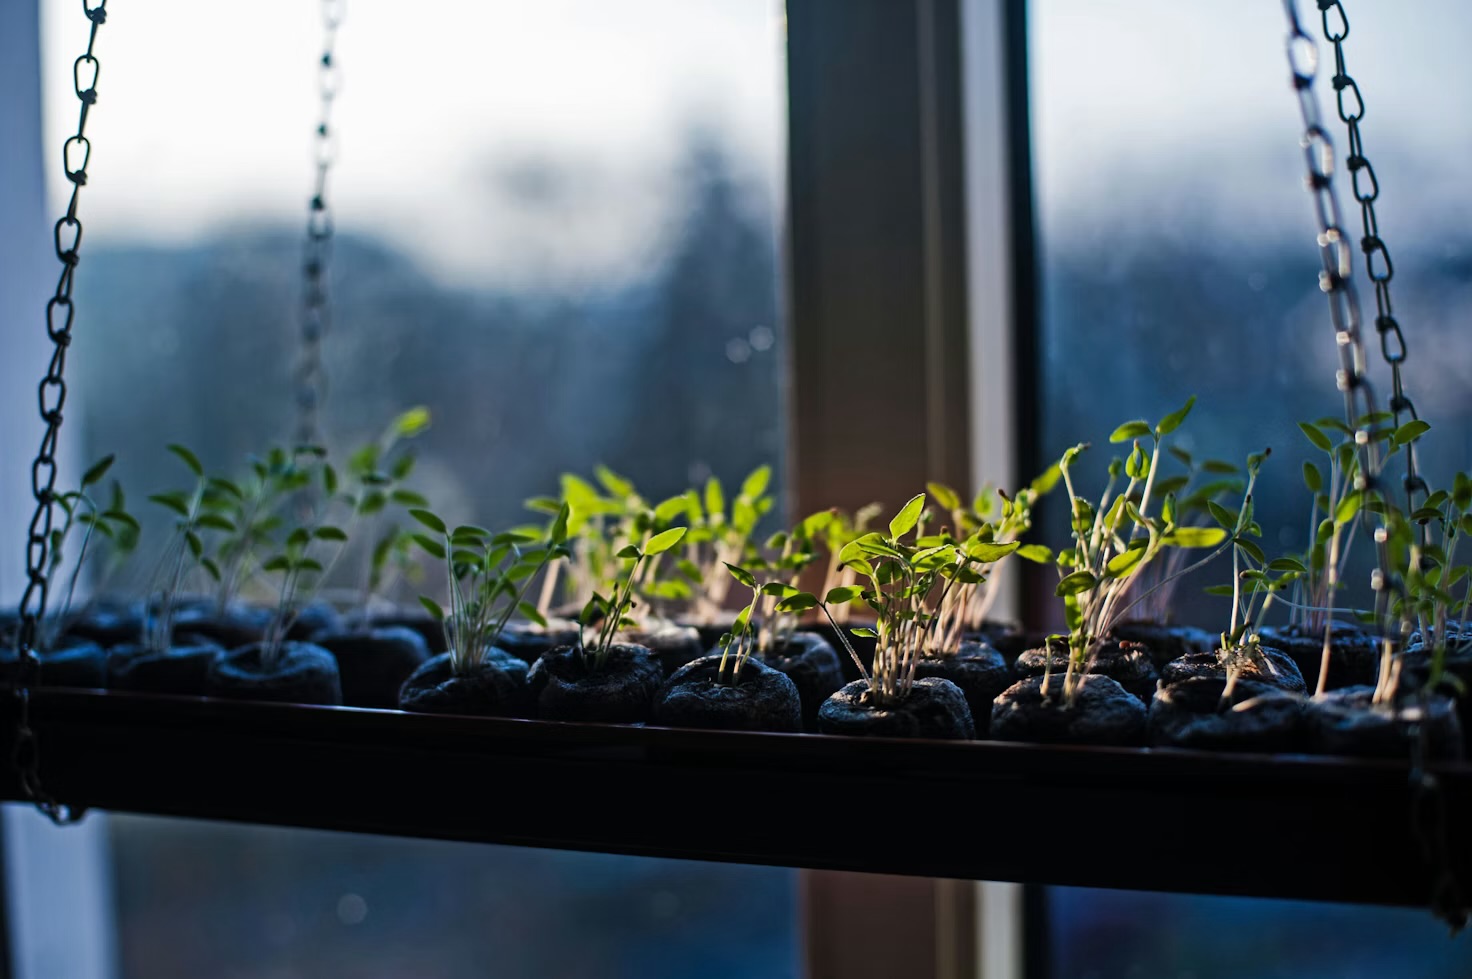
☀️ Step 6: Give Them Enough Light

Photo: Tom Jur
Seedlings need adequate light to grow and not become leggy
Place seedlings:
- In a bright, sunny window
- Or under a grow light
If seedlings stretch and fall over, they need more light, adding a small fan as mentioned below can also help them to grow stronger stalks.
Not sure if a window is enough?
Read Do Seedlings Need Grow Lights? Or Is a Sunny Window Enough?
🌬 Step 7: Help Seedlings Grow Strong
Once seeds sprout:
- Remove humidity covers (if using)
- Add gentle air movement (a small fan works great)
- Rotate trays so plants grow straight, we don’t want them stretching up in one direction
🌤 Step 8: Harden Off Before Moving Outdoors
Before transplanting seedlings outside, gradually expose them to outdoor conditions over 7–10 days.
This prevents shock and helps them adjust to sun, wind, and temperature changes.
New to this term?
Read Gardening Terms Explained: A Beginner-Friendly Guide
🚫 Common Mistakes to Avoid
- Starting seeds too early
- Overwatering
- Not enough light
- Skipping hardening off
- Using heavy garden soil
Want to avoid beginner pitfalls?
Read Common Seed Starting Mistakes (And How to Avoid Them)
🌿 Final Thoughts
Seed starting doesn’t need to be perfect. Start small, learn as you go, and remember, every gardener kills a few seedlings along the way. The wins are worth it. 🌱
Ready to plan your seed starting schedule?
Try The Rooted Grower App to get your personalized planting calendar.
About the author
Hi, I’m Natasha, the person behind The Rooted Grower.
I’m a gardener in progress, a plant parent, and a builder of tools to make gardening easier for beginners, like myself.
I created The Rooted Grower because I wanted a space where learning to garden feels supportive instead of intimidating. I’m learning alongside you, sharing what works, what doesn’t, and what I wish I had known sooner. My goal is to turn confusing moments into “oh, that makes sense” moments and to help you feel confident enough to keep going.
Last updated: [February 21, 2026]
Leave a Reply